
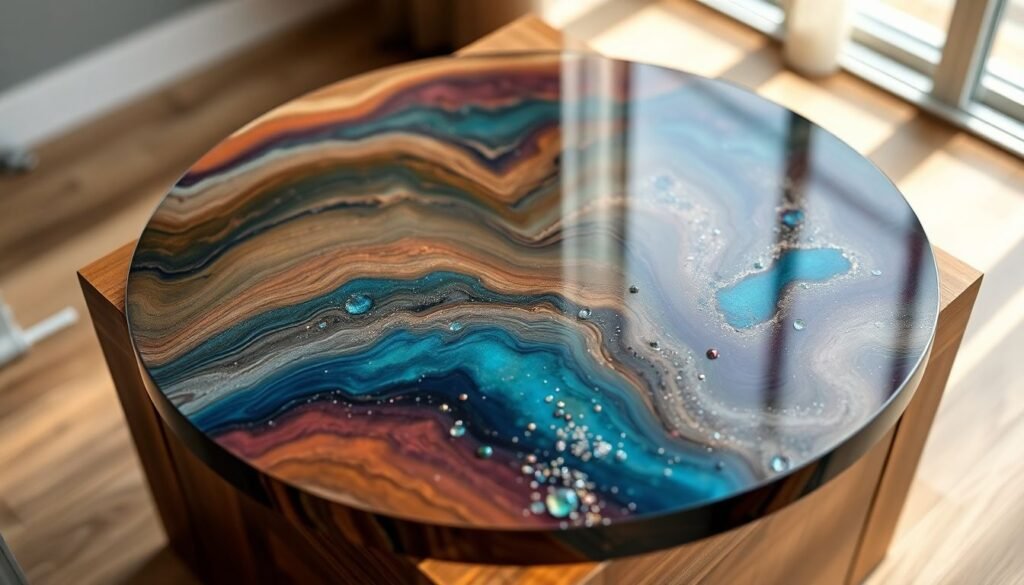
Unleash your creativity with a beautiful Epoxy resin table top diy! This project allows you to transform ordinary wood into a striking centerpiece for your home. Let’s dive into the process, from gathering materials to showcasing your finished masterpiece.
Ensure your wood surface is free of dust and contaminants. Wipe it down with a damp cloth and let it dry completely.
Apply a clear epoxy sealer to the wood. This step prevents the wood from soaking in too much resin, which could lead to uneven finishes.
Follow the instructions on the resin packaging closely. Most brands require a 1:1 ratio by volume. Measure carefully.
Add pigments slowly to achieve your desired color shade. Stir well to ensure even distribution.
Pour resin from a height of about 12 inches. This helps minimize bubbles. Use a heat gun to remove any bubbles that do appear.
Experiment with pouring different colors side by side. Let layers dry before adding more to create depth.
Add decorative items like dried flowers or metal flakes. They bring a personal touch to your table.
If you see bubbles, use the heat gun to pop them. For sticky areas, consider a light sanding and apply a fresh layer of epoxy.
Most epoxy resins cure within 24 hours but can take longer for a full cure. Keep the area warm and free from dust.
Once fully cured, sand the surface lightly to smooth any imperfections. Use a polishing compound for a glossy finish.
Apply a clear varnish for extra protection. Regularly clean with a soft cloth and avoid harsh chemicals.
Consider trying different colors and materials for even more unique creations. Let your imagination run wild!
Share photos of your beautiful epoxy resin table top on social media. Inspire others with your masterpiece!
Embarking on this DIY journey can lead to a stunning addition to your furniture collection. Happy crafting!
Marble inlay is an intricate craft that involves embedding pieces of colored marble or other materials into a marble base to create decorative patterns, designs, or images. This technique, often associated with traditional Indian art, especially in structures like the Taj Mahal, involves meticulous cutting and fitting of the inlaid pieces, showcasing a high level of craftsmanship. It can be used in various applications, including tabletops, flooring, and wall decorations, adding elegance and sophistication to the overall aesthetic.
Subscribe to receive inspiration, product updates and special offers